

The Art of Visual Schedules By The Artsy SLP
Visual schedules can be a powerful tool to use in speech language therapy or in the small group setting.
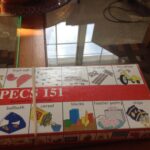
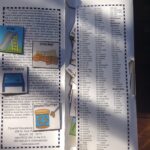
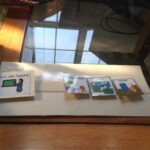
I like to use PECS 151. It includes pictures already laminated and cut out.
(See below)
Visual schedules help target behaviors of students by relieving anxiety. The students know exactly what to expect and what is expected of them.
Although this technique is useful with a variety of different disorders, I find it to be especially useful for children with Autism.
I have implemented visual schedules for the entire classroom. For this post, I will focus on a technique developed exclusively to use in language therapy. I use the technique of first/then with a twist.
Most children with autism have very short attention spans when working on a non-preferred activity (a task the student does not like to complete). Some may even develop behaviors when working on these tasks.
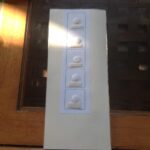
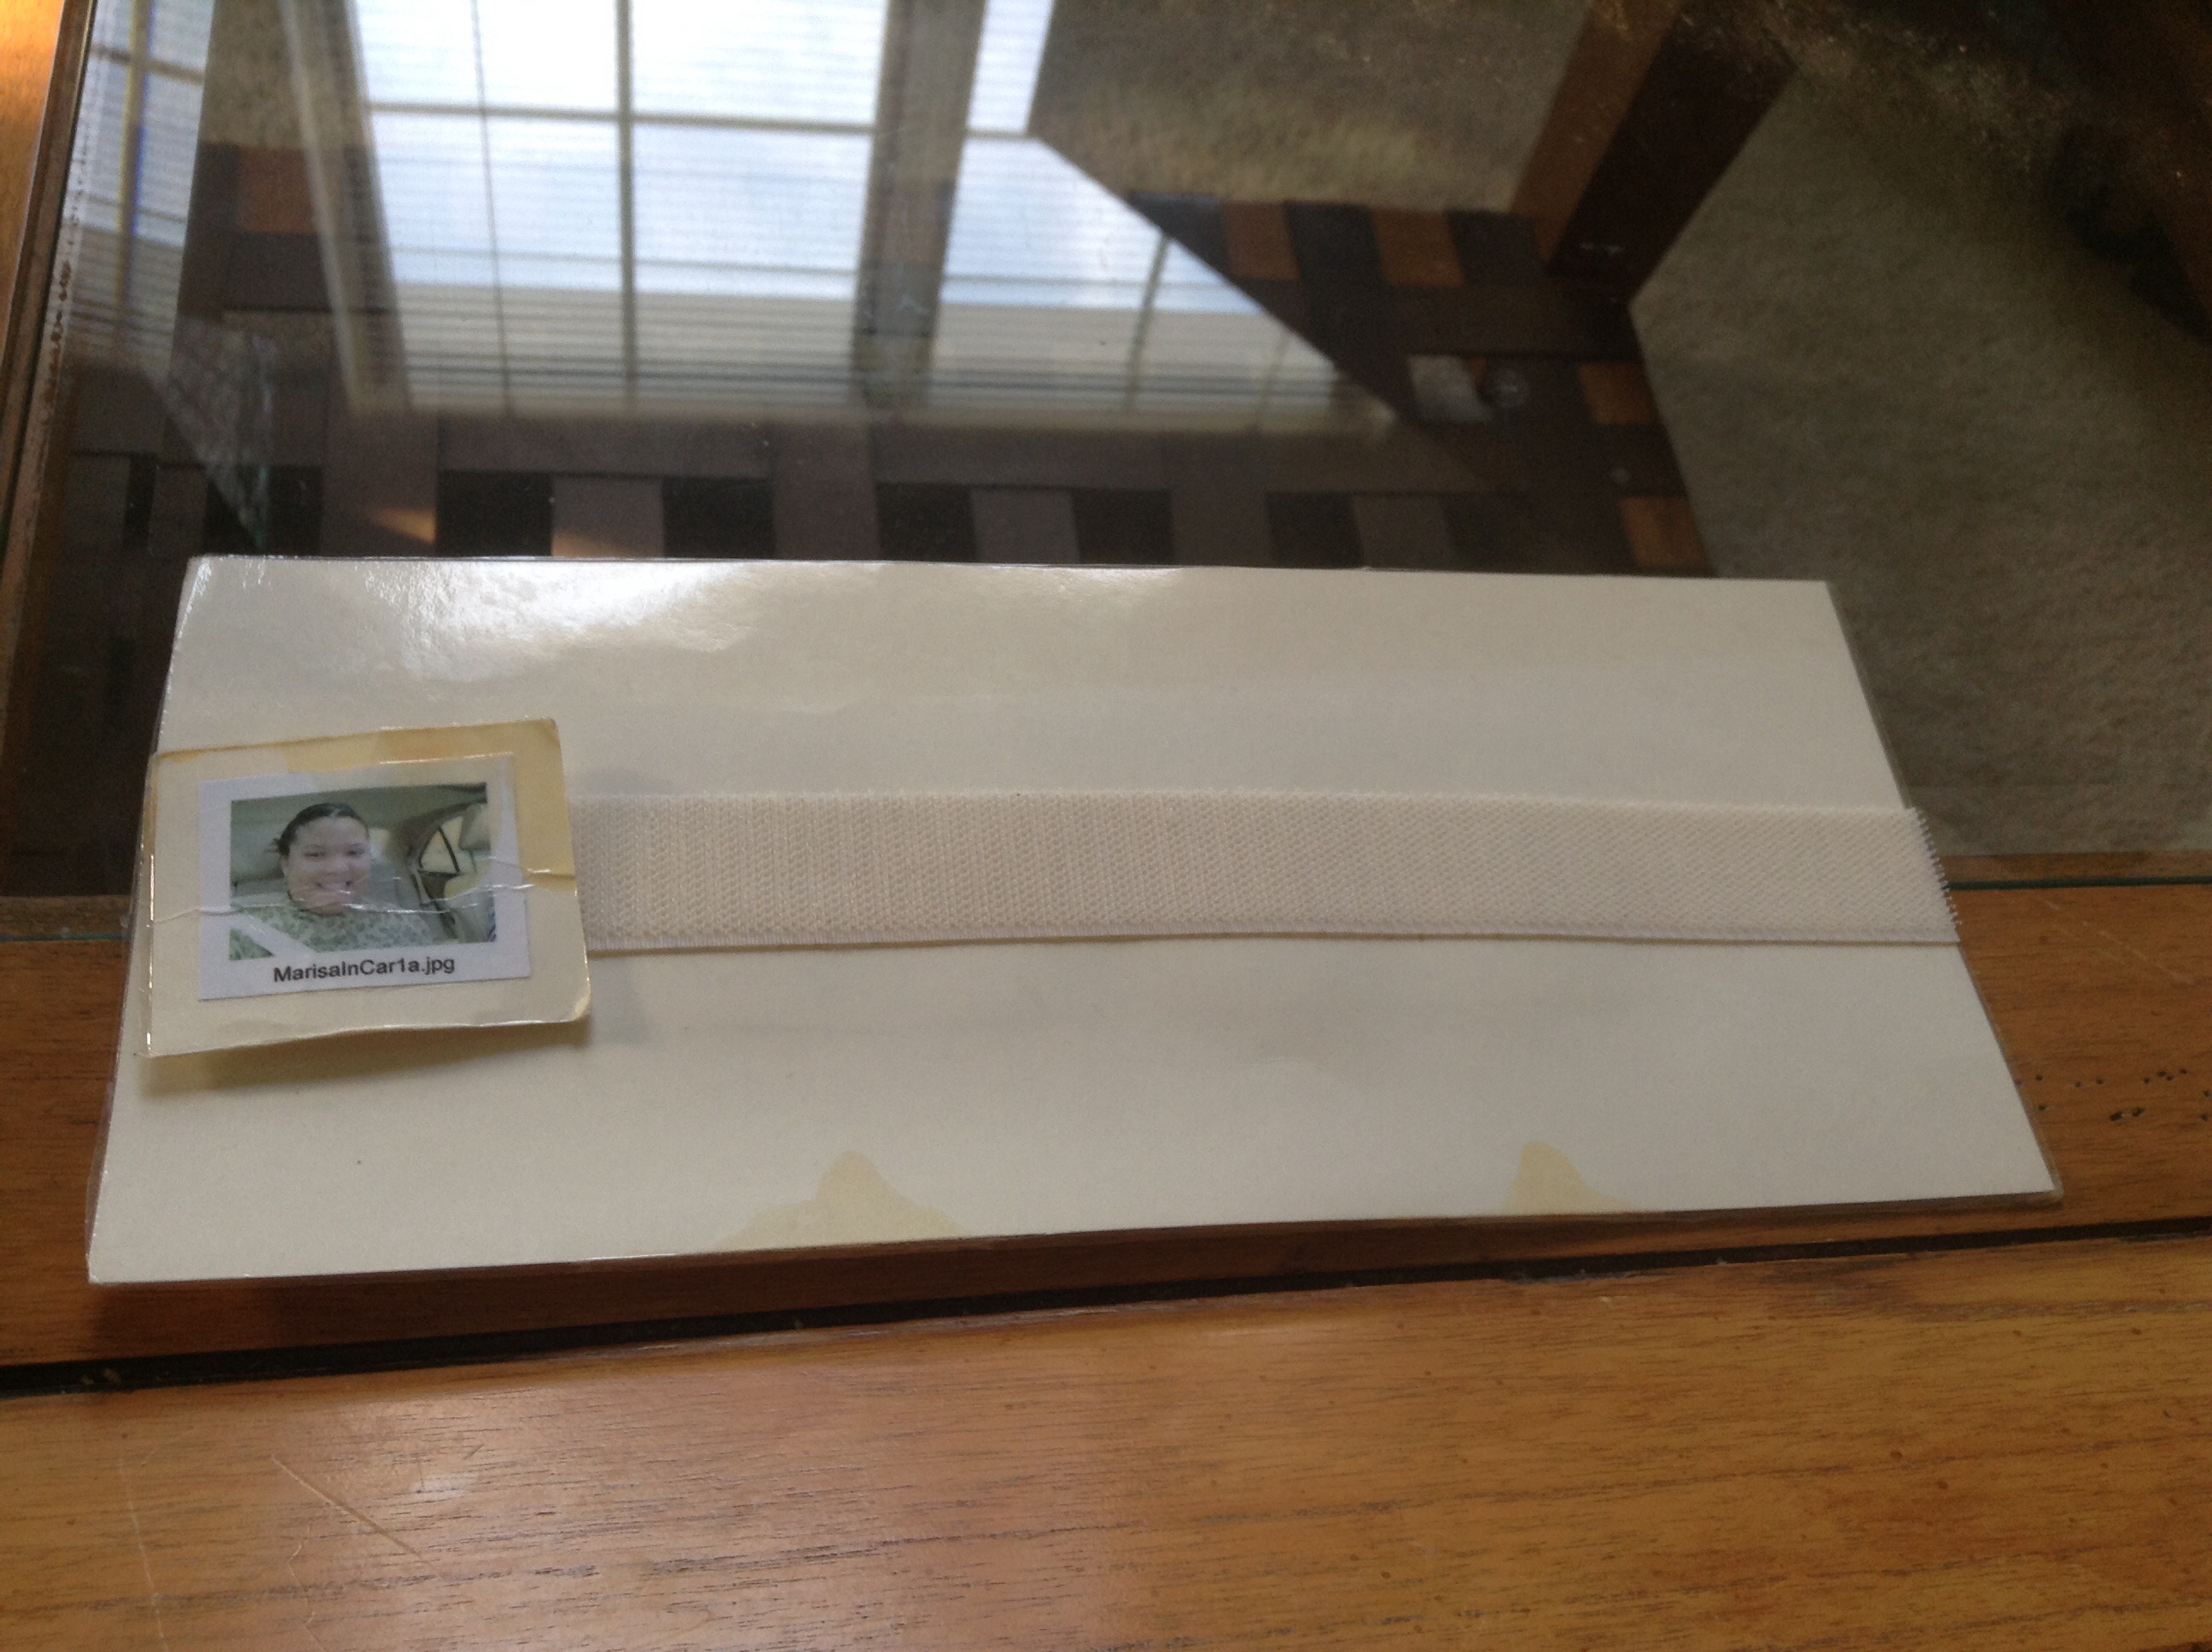
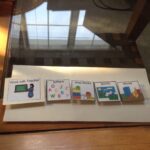
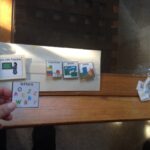
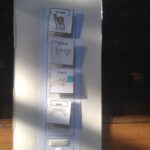
I have found that visual schedules are an excellent way to decrease behaviors. To create: I glue a long Velcro strip to a laminated poster board. I cut the board down to side. Then you can use the Velcro strip to Velcro items horizontally or vertically.

I always start with a picture of the teacher. This picture represents “work with teacher” and remains on the Velcro strip as long the student is in language therapy.You can use a card to represent the teacher, or an actual photograph of yourself. I have used both methods.
Then I start with a non-preferred item, followed by a preferred item. I repeat the pattern with usually no more than 2 to 3 non-preferred items. I review the visual schedule with the student as soon as he enters the therapy room.
Before the student begins the non-preferred activity, he already sees the preferred activity that’s coming up next. His attention span increases while his behaviors decrease when completing the non-preferred activity.
When each activity is complete, I take the picture off the schedule. This indicates the task is complete.
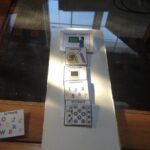
If a student is really reluctant to complete the non-preferred task, then I set a timer. Preferably a visual timer, so the student can see how much longer he has until the task is complete. Then when we are finished, I remove the teacher picture to indicate we are done.
I hope these strategies are helpful with your students. Enjoy!
All pictures belong to The Artsy SLP. Please do not use any images or photos from this blog (except when linking to the original post on social media) without obtaining written permission from the author.